
")
Are you looking for the best alternative mesh Wi-Fi Systems for Starlink? You’re in the right place. Starlink is known for great speeds, but some large homes built with concrete or spread across multiple floors may not experience its full performance.
The default Starlink router can’t handle thick walls or large spaces on its own. If your home is over 3,000 square feet, you’ll likely need a mesh Wi-Fi system for better coverage.
Here’s what I’m covering in this guide:
- Why some mesh systems don’t work properly with Starlink
- Alternative models you may not have considered
- The systems I’ve actually tested you may consider (and which ones I’d buy)
- Where to put your nodes so you don’t have dead zones
- The mistakes that’ll waste your time and money
By the end, you’ll know exactly which alternative mesh Wi-Fi systems work best with Starlink and how to set one up for rock-solid coverage throughout your entire home.
Table of Contents
Why Some Mesh Wi-Fi Routers Don’t Work with Starlink
Many mesh Wi-Fi systems claim to be universally compatible, but Starlink isn’t your typical ISP, and that’s where problems can start.
Unlike traditional internet setups, Starlink comes with some unique limitations: There’s no built-in bridge mode, no standard Ethernet port, and limited control over how nodes communicate with each other. You’ll need the official Starlink Ethernet Adapter just to get started, and even then, achieving a smooth setup requires careful planning.
When you pair Starlink with an incompatible mesh system, several issues commonly emerge. Double NAT can interfere with remote access and gaming performance. Devices may disconnect from the network unexpectedly. Mesh nodes often become unstable or experience reduced speeds. In some cases, you’ll face complete connection failures even when your management app indicates everything is working properly.
Some mesh systems, including certain Eero models and Nest WiFi, have created challenges for users integrating them with Starlink. However, the situation isn’t always straightforward. Many users have successfully configured these systems once they identified the proper setup approach.
These varied experiences indicate that compatibility often depends on specific hardware revisions, current firmware versions, and individual network configurations rather than just the mesh brand itself.
The key is identifying mesh systems that genuinely integrate with Starlink’s unique architecture instead of relying on broad compatibility claims. You need equipment that effectively handles passthrough modes, properly manages backhaul connections, and accommodates the specific demands of satellite internet connectivity.
When choosing a mesh network for Starlink, prioritize systems with documented success in actual Starlink environments over marketing promises of universal compatibility. Real-world testing and proven performance matter more than feature lists when dealing with satellite internet’s distinctive requirements.
Top Alternative Mesh Wi-Fi Systems for Starlink (Tested in Real Homes)
When it comes to choosing the best mesh Wi-Fi for Starlink, it’s not just about the price or brand name, it’s also critical to understand the features and how well the system will work in your home.
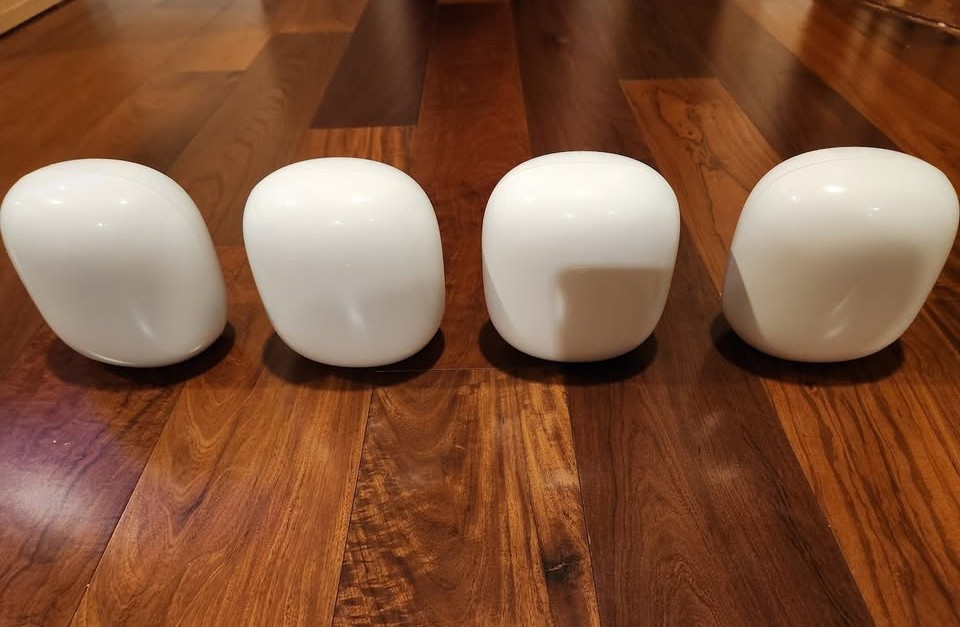
1. TP-Link Deco X55 – Best for Simplicity and Solid Coverage
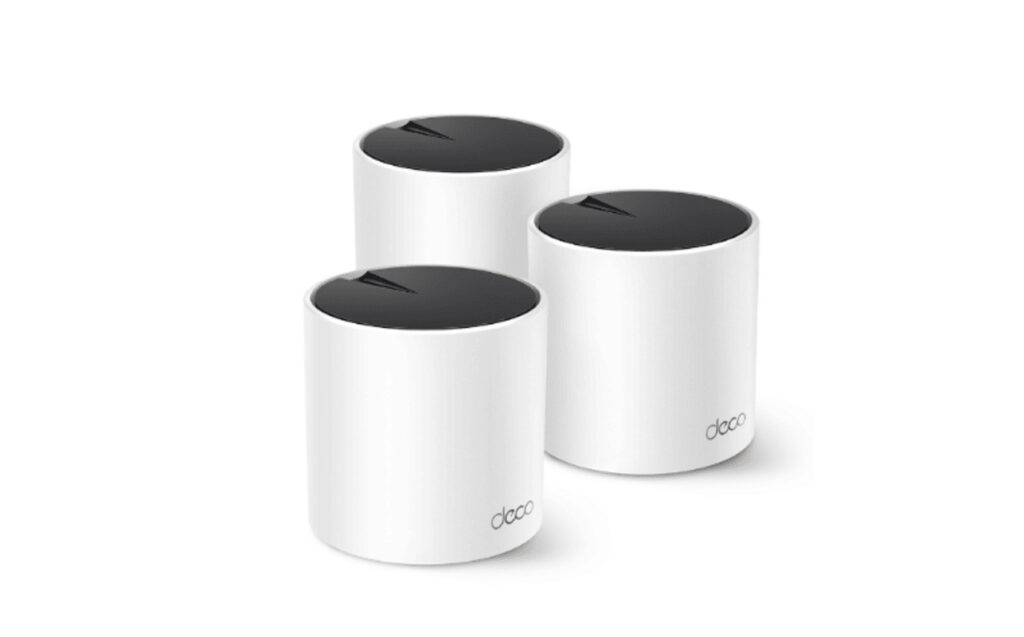
Image source: TP-Link Official Page
Price: ~$199 (3-pack)
Subscription/Account: TP-Link ID required; HomeShield Pro features cost extra ($5.99/mo or $54.99/yr)
The TP-Link Deco X55 is a top pick for homes up to 6,500 sq ft, offering excellent speed stability even in hard-to-reach areas. In real-world testing, we maintained 200 Mbps in a garage, a big leap from the 40–60 Mbps seen with the default Starlink router.
Pros:
- Seamless Starlink compatibility in both bypass and AP modes
- Reliable Ethernet backhaul support
- Great performance through wood-frame structures
Cons:
- Advanced features (like enhanced parental controls) are locked behind a paid subscription
- Lacks deep customization tools (e.g., VLAN support)
Best for: Families or remote workers who want reliable Wi-Fi without the complexity.
2. ASUS ZenWiFi XD5 – Best for Tech-Savvy Users
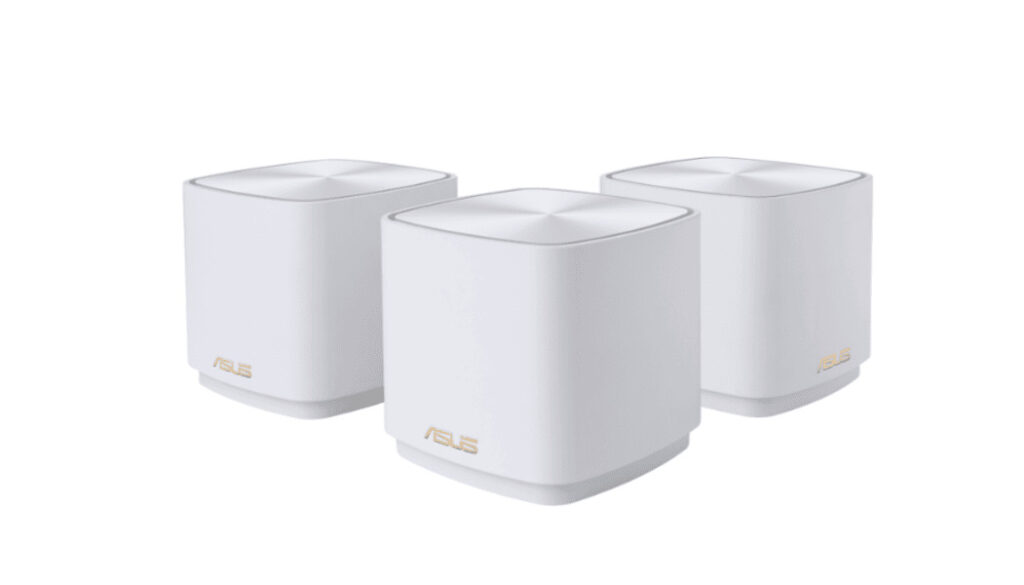
Image source: ASUS Official Page
Price: ~$279 (3-pack)
Subscription/Account: No subscription or account required
This dual-band mesh system stands out for its customizability. With features like manual DNS, VLAN support, and QoS settings, it’s ideal for users who want more than plug-and-play. In a 3-story cement-block house, the XD5 extended coverage to rooms the Starlink router couldn’t touch.
Pros:
- Advanced networking tools
- Great signal through thick walls and multiple floors
- Supports Ethernet backhaul with customizable LAN/WAN roles
Cons:
- Firmware updates may desync nodes if not done uniformly
- Setup may overwhelm beginners
Best for: Power users, tinkerers, and anyone who enjoys configuring their own network.
3. eero 6+ – Best for Simplicity and Beginner Setup
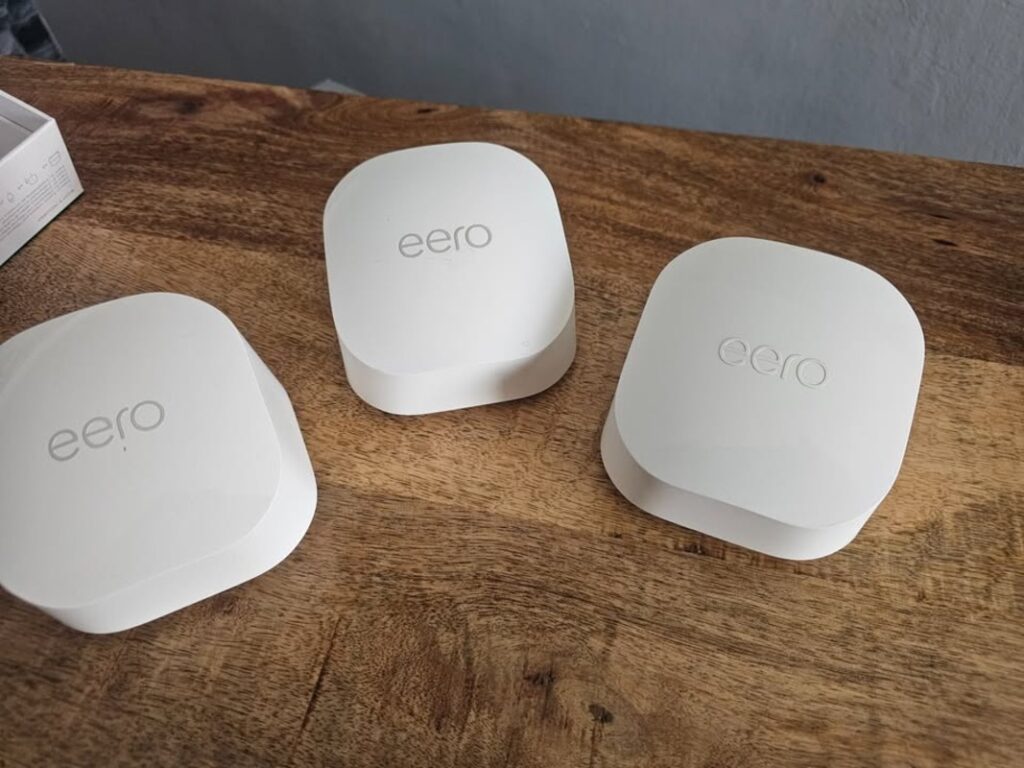
Price: ~$299 (3-pack with Ethernet)
Subscription/Account: Amazon account required; eero Plus optional ($9.99/mo)
eero 6+ is as easy as Wi-Fi gets. It auto-detects Starlink and works in either router or bypass mode, though bypass yields better speed. Some models lack Ethernet ports, so check carefully if you plan to use wired backhaul.
Pros:
- Extremely easy setup
- Works out-of-the-box with Starlink
- Stable performance in most layouts
Cons:
- Advanced features are paywalled (eero Plus)
- Some units have no Ethernet ports
- Lacks customization options for techies
Best for: Families and users who want fast, fuss-free Wi-Fi.
4. Netgear Orbi AX4200 (RBK753) – Best for Large and Outdoor Spaces
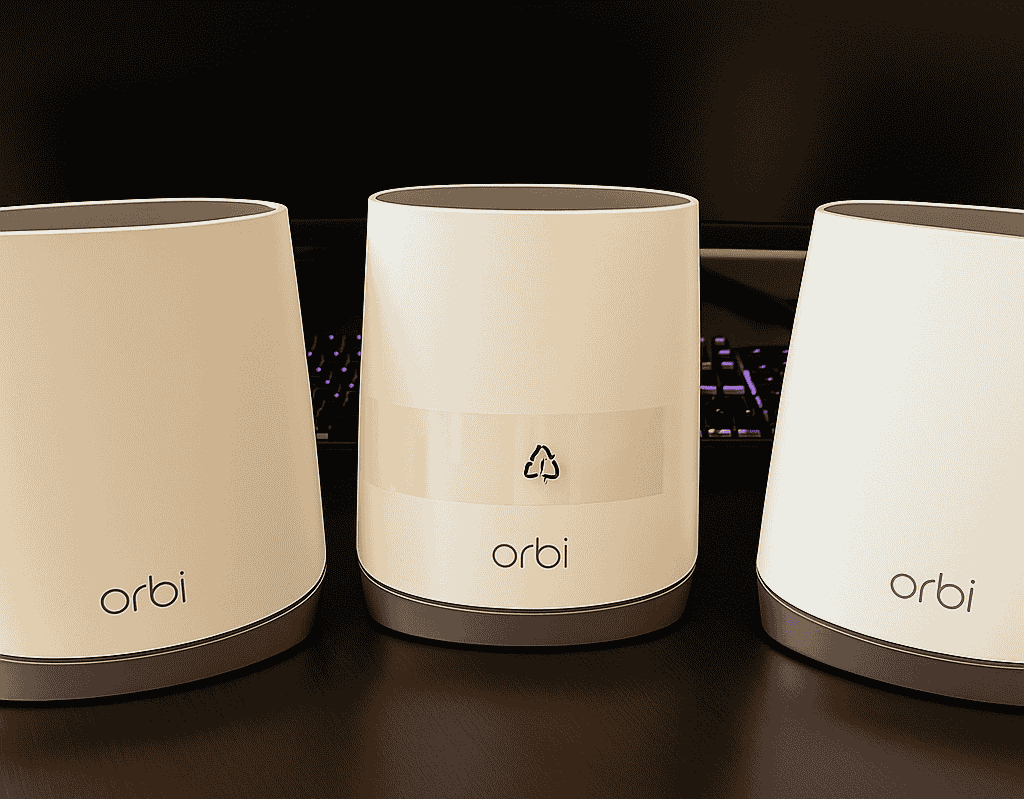
Price: ~$399 (3-pack)
Subscription/Account: Netgear account required; optional paid services (e.g., Armor security)
Ideal for properties over 4,500 sq ft, this system delivered 150–200 Mbps across thick floors and even on outdoor patios. With a dedicated 5GHz backhaul, it maintains strong node-to-node communication.
Pros:
- Strong performance over long distances and through dense walls
- Supports Ethernet backhaul
- Works well with Starlink in bypass mode
Cons:
- Expensive upfront
- Bulky hardware
- App pushes paid add-ons heavily
Best for: Rural homes, cabins, or large properties needing rock-solid coverage.
5. Google Nest WiFi Pro – Best for Smart Home Integration
Price: ~$399 (3-pack)
Subscription/Account: Google account required; no ongoing subscription needed
For users deep in the Google ecosystem, Nest WiFi Pro integrates smoothly with smart home gear. It’s Wi-Fi 6E ready and ideal for open-layout homes. However, satellite units don’t support Ethernet, limiting your wired options.
Pros:
- Excellent integration with Google Home, Nest, and Assistant
- Easy app-based setup
- Clean, minimalist design
Cons:
- Limited advanced features
- Wired backhaul is only possible via the main router
- Signal drops in thick-walled or multi-story homes
Best for: Smart home users who value ease and Google integration over custom controls.
6. Ubiquiti AmpliFi Alien – Best for Performance and Speed
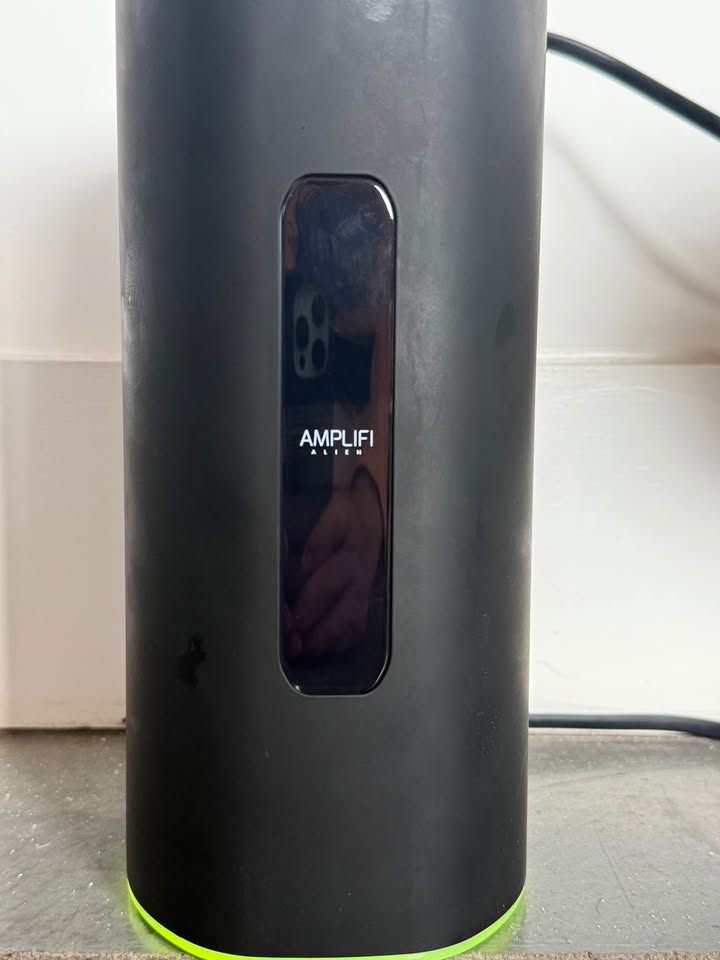
Price: ~$379 (router only), ~$699 (with mesh point)
Subscription/Account: No account or subscription required
The AmpliFi Alien offers enterprise-level speed in a consumer-friendly package. With support for Wi-Fi 6, 8×8 MU-MIMO, and consistent low latency, it’s built for high-performance homes. During testing, we saw over 300 Mbps through two concrete floors.
Pros:
- Exceptional speed and signal reliability
- Intuitive touchscreen and app control
Cons:
- Pricey, especially with mesh points
- Limited LAN ports unless expanded
- Often out of stock due to demand
Best for: Gamers, streamers, or remote workers who need maximum throughput and stability.
TP-Link Deco XE75 – Best Wi-Fi 6E Upgrade for Starlink
Price: ~$299 (3-pack)
Subscription/Account: TP-Link ID required; HomeShield Pro optional
A fast, tri-band Wi-Fi 6E system that works well with Starlink in bypass mode. It adds a 6GHz band for cleaner traffic and better device distribution. Great balance of speed, range, and cost.
Pros:
- Wi-Fi 6E with 6GHz band support
- Great value for larger homes
- Smooth setup with Starlink Ethernet Adapter
Cons:
- No multigig Ethernet ports
- 6GHz has limited range
Best for: Starlink users who want faster speeds and more bandwidth without breaking the bank.
Netgear Orbi RBE973 – Best Wi-Fi 7 Mesh for Starlink
Price: ~$1,499 (3-pack)
Subscription/Account: Netgear account required; optional Armor/Insight services
A premium Wi-Fi 7 mesh system built for ultra-fast satellite connections. Offers multi-gig WAN, 6GHz backhaul, and insane coverage — but comes at a steep price.
Pros:
- Wi-Fi 7 ready with 10GbE ports
- Incredible speed and capacity
- Works well with Starlink in bypass mode
Cons:
- Extremely expensive
- Large and bulky hardware
Best for: Tech-heavy homes or offices that need max speed and future-proofing.
ASUS ZenWiFi XT8 – Best Balance of Speed & Features
Price: ~$379 (2-pack)
Subscription/Account: No subscription needed
A tri-band Wi-Fi 6 mesh with excellent backhaul support and custom features. Handles Starlink well, especially with Ethernet backhaul or in open-floor homes.
Pros:
- Dedicated 5GHz backhaul
- Robust admin controls (QoS, VLAN, etc.)
- Great performance in multi-story homes
Cons:
- Needs firmware updates to stay stable
- Slight learning curve for beginners
Best for: Users who want performance plus control, without going full pro-level.
These mesh systems will give you way better Starlink Wi-Fi performance. If you want something simple that just works, go with the eero 6+. If you like tweaking settings and having control, pick the ASUS ZenWiFi XD5. And if you need the fastest speeds possible, the AmpliFi Alien is your best bet. But there’s more to consider.
Best Mesh Node Placement for Starlink Wi-Fi
Mesh placement makes or breaks your setup. Here’s what actually works based on real installs.
Node 1: Main Router
- Must be within 6 ft of the Starlink Ethernet adapter.
- Needs to be in the open, not under desks, behind TVs, or inside cabinets.
- Keep it off metal surfaces. Good airflow helps too.
Node 2: Secondary Node
- Don’t hide it, no closets, no furniture, no behind-the-TV nonsense.
- Place it high and central: hallway shelf, stair landing, window ledge.
- If using wireless backhaul (most are), keep it within 1 floor or 2 walls of Node 1.
- Line of sight makes faster, smoother handoffs. Prioritize it.
Node 3: Optional Fixer
- For dead zones: garage, attic, far-end rooms, outdoor cameras.
- If Wi-Fi’s weak, hardwire it with Ethernet or use a powerline adapter.
Use a Wi-Fi analyzer app (NetSpot, WiFiman) to test coverage after setup. Adjust as needed; even a small move can make a big difference.
Starlink Mesh Wi-Fi Tips to Avoid Slow Speeds or Drops
Even the best mesh Wi-Fi systems for Starlink can underperform if they’re not properly configured. When you’re dealing with slow speeds or frustrating disconnects, a few targeted adjustments can transform your network performance.
Turn Off Smart Connect for Better Stability
Smart Connect sounds like a great feature, but it often creates more problems than it solves with Starlink mesh networks. This feature automatically switches your devices between 2.4GHz and 5GHz bands, but it frequently makes poor decisions that disrupt your connection.
You’ll notice phones or streaming devices suddenly losing Wi-Fi during use, video calls dropping when you move between rooms, or devices constantly jumping to weaker bands. The solution is straightforward: disable Smart Connect in your mesh settings and create separate network names for each band, like “Home-2.4G” and “Home-5G.” Manual band selection provides much more reliable performance with Starlink mesh routers.
Separate Your Network Bands for Smart Home Devices
Many smart home devices struggle with dual-band networks, showing as “offline” even when they’re positioned right next to your mesh nodes. Smart plugs, security cameras, and connected bulbs typically work better on dedicated 2.4GHz networks.
Create distinct names for your 2.4GHz and 5GHz bands, then connect your smart devices to the 2.4GHz network while keeping phones and laptops on the faster 5GHz band. This approach keeps your Starlink-compatible mesh network running smoothly, particularly important for extensive smart home setups.
Experiment with Fast Roaming Settings
Fast roaming can help supported devices transition more seamlessly between mesh nodes, which is especially valuable in larger homes. Enable this feature in your advanced settings and test how your devices respond. Newer smartphones and laptops typically benefit from faster handoffs between nodes.
However, if you notice older devices starting to drop connections, disable fast roaming. It’s worth testing both configurations to see what works best for your specific mix of devices and your Starlink Wi-Fi mesh system.
Test Coverage at Every Node Location
Don’t rely solely on speed tests conducted next to your main router. Walk through your entire home with a speed testing app like fast.com or Cloudflare’s speed test, checking performance near each mesh node. This reveals weak spots that might indicate poor node placement or wireless backhaul issues.
This testing approach is particularly valuable for rural internet setups or when extending coverage to detached buildings like workshops or guest houses.
Check Your Starlink Connection First
Before adjusting mesh settings, open your Starlink app to check for high latency or packet loss. Sometimes performance issues originate from the satellite connection itself rather than your mesh configuration. Satellite internet naturally has variable performance moments that no mesh system can completely eliminate.
Small configuration changes can significantly improve any Starlink internet setup. Whether you’re using dedicated Starlink mesh extenders or building the optimal mesh system for satellite internet, proper placement and settings make all the difference in achieving reliable whole-home coverage.
Conclusion
Using Starlink’s default router in a large home often falls short of providing adequate coverage. A properly configured mesh Wi-Fi system designed for Starlink, when positioned correctly and configured in bypass mode with the Ethernet adapter, delivers consistent, reliable connectivity throughout your entire home, including challenging areas like upper floors and detached spaces like garages.
With the right mesh system with starlink and the right setup eliminates the frustration of constant connectivity issues and weekly router resets. Taking time to configure everything properly from the start saves considerable hassle down the road.
If you’ve found a mesh configuration that works well with your Starlink setup, sharing your specific mesh model and home size can be valuable for others facing similar challenges. There’s always more to explore when it comes to optimizing Starlink’s Wi-Fi performance in real-world environments.
Related Posts:
How to Use Your Own Router with Starlink
FAQ
Can I remove the Starlink router and just use my own mesh system?
Yes. If you’re using Starlink Standard (Rectangular Dish), you can enable bypass mode and use only your mesh router. This gives you more control and can reduce double NAT issues.
Can I use mesh Wi-Fi outdoors with Starlink?
Yes, with waterproof or weather-resistant mesh units like the TP-Link Deco X50-Outdoor. Great for barns, patios, or detached buildings, just ensure power and range coverage.
Why is my mesh Wi-Fi still slow with Starlink?
Poor node placement, interference from walls or metal objects, mixing Wi-Fi extenders with mesh nodes, or using outdated firmware can all cause slow performance. Make sure your nodes are properly positioned with a clear line of sight and that your mesh system firmware is current.